| Category | Lab journal |
| Platform | eLabJournal (RUG) |
| Owner | P. Fodran |
| Reviewed by | I. Dean, V. A. Hill |
| Version | v1.0 (04/2025) |
| Difficulty | Essential — Day 1 |
The lab journal is an integral part of the research and must be carefully prepared. The group uses the electronic format at elabjournal.rug.nl. On your first day you will be given access and a unique three-letter code used to label your experiments. Lab journaling is a transferable skill and is, in general, required in all branches and types of research.
Every experiment must follow the same structure so that entries stay consistent and searchable across the group. Each entry needs the following sections, in this order: Heading, Rationale, Scheme, Procedure, Files, and Conclusions and observations.
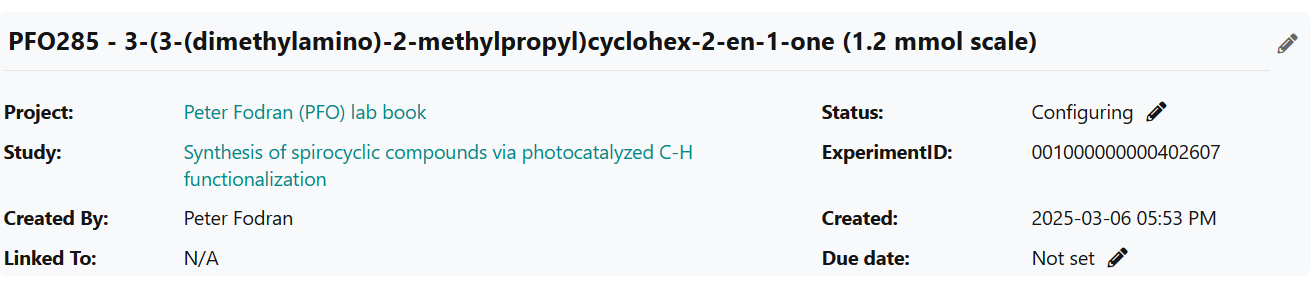
Start with the three-letter code assigned to you on your first day. Experiments are numbered in an incremental sequence, starting with the first experiment as 1. It does not matter if you are redoing a failed experiment — the number must still be unique. If an experiment needs to be revisited months later, this numbering makes it immediately clear whether it worked on the first attempt or whether the reaction is sensitive.
Next, include a ChemDraw-generated compound name, which allows for a structural search later. It's also worth including the scale and conditions in the heading.
Really just one sentence — but a sentence that forces you to check whether the experiment is at the correct scale, relevant, and actually moves the research forward.
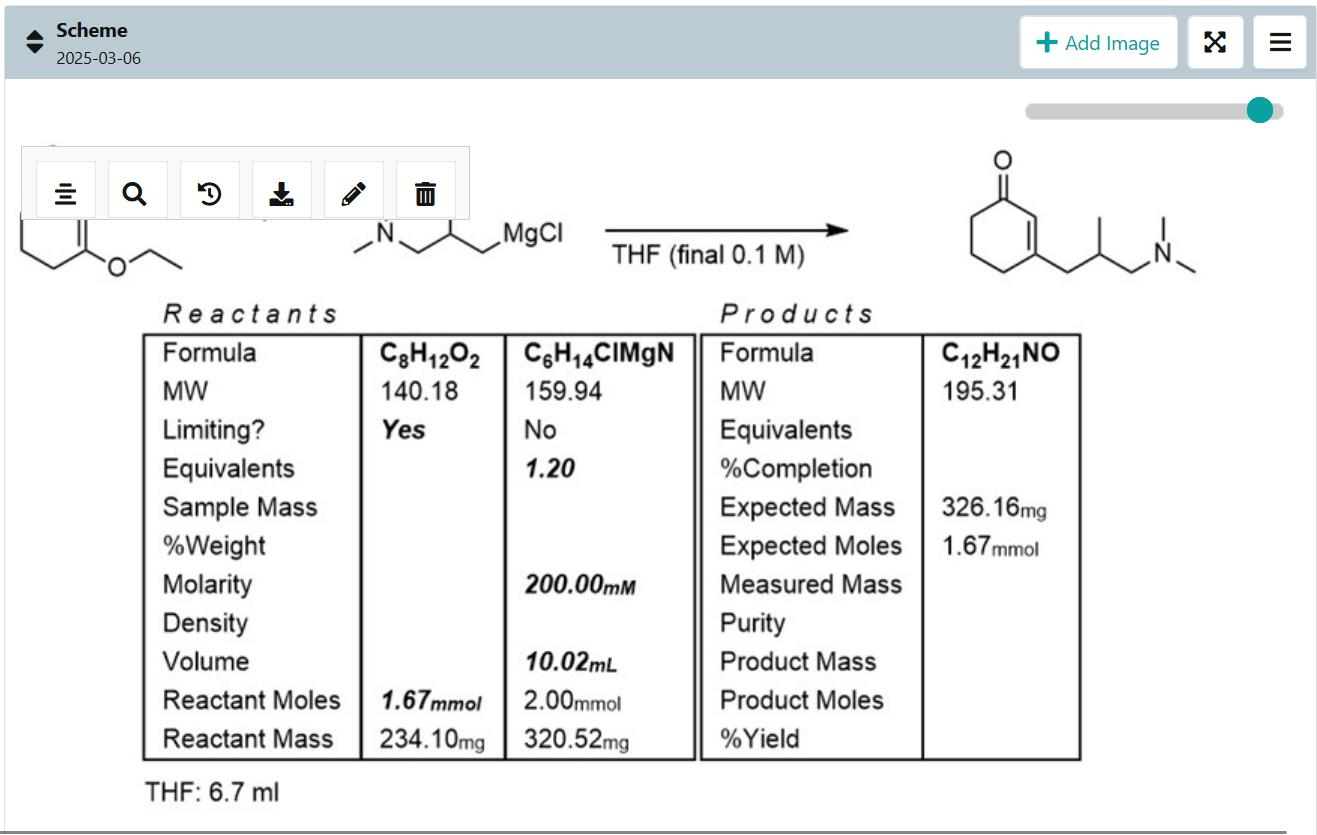
Use ChemDraw and include all necessary reagents. Go to Structure → Analyse Stoichiometry to generate the charge table, then fill it in accordingly. This feature of ChemDraw isn't flawless — for example, it cannot generate "micro" as a prefix and instead uses 2× "milli." Even so, it's worth the effort: when summarising the project for a publication or report, you'll need reaction schemes anyway, so preparing them as you move through the project saves time later.
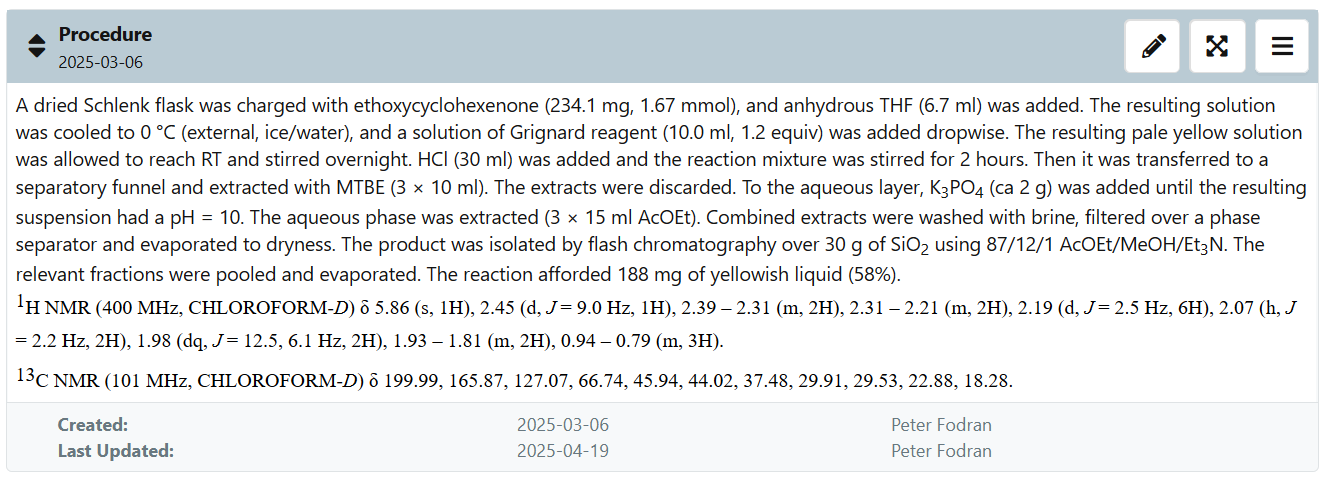
Ideally, write this as you're experimenting — there's usually plenty of waiting time during reactions, so use it to record what you've done. Style-wise, the procedure should be written in passive voice, since the action is more important than the person performing it. Limit decimals to one digit. The limiting reagent should be reported in mmol, with everything else in equivalents — this keeps the procedure logical.
Technically, the procedure has four distinct parts, which provide a logical structure:
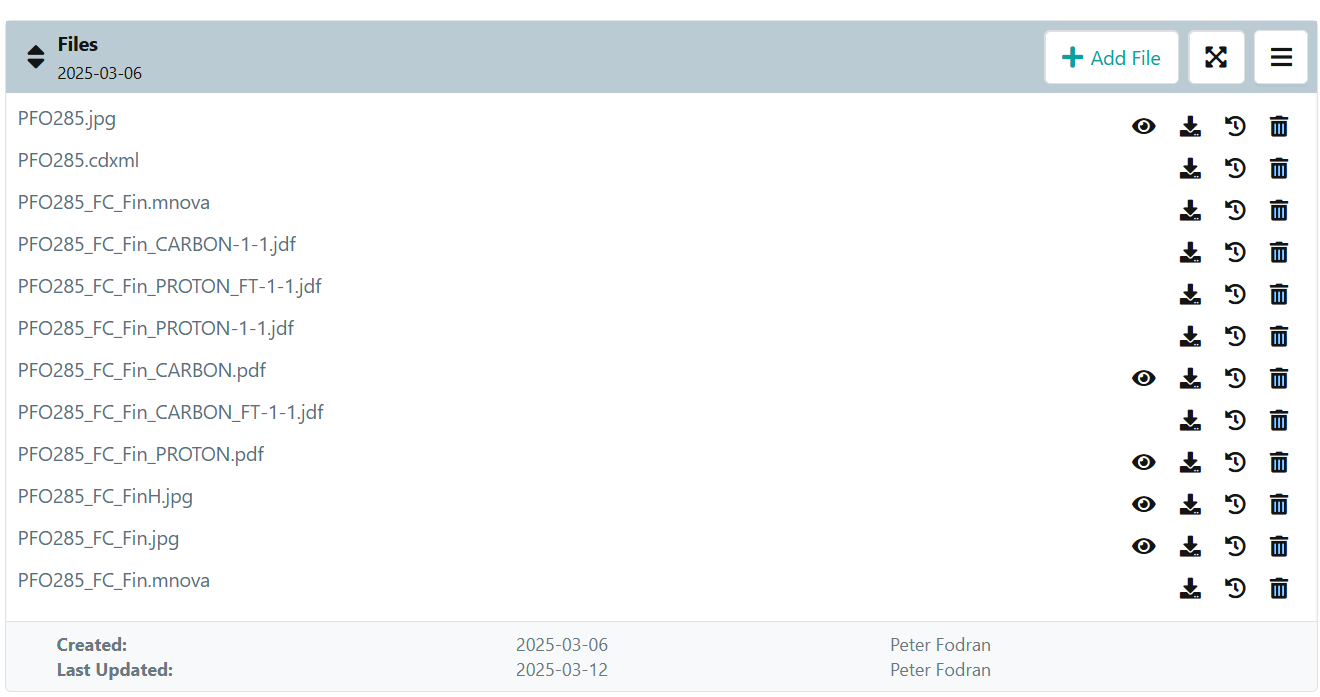
The files section includes all raw and processed data generated as you move through the experiment. Store the raw data in a form that's easy to retrieve — there's always a chance you'll need to revisit an old experiment, and if you've stored even the processed data carefully, it will save a lot of time.
This section is for notes to the next experimenter — including yourself, months later. If an experiment goes smoothly with no issues, it can stay empty, but not all experiments are like that, and that's natural. Use this space to flag anything that might make the next attempt easier.
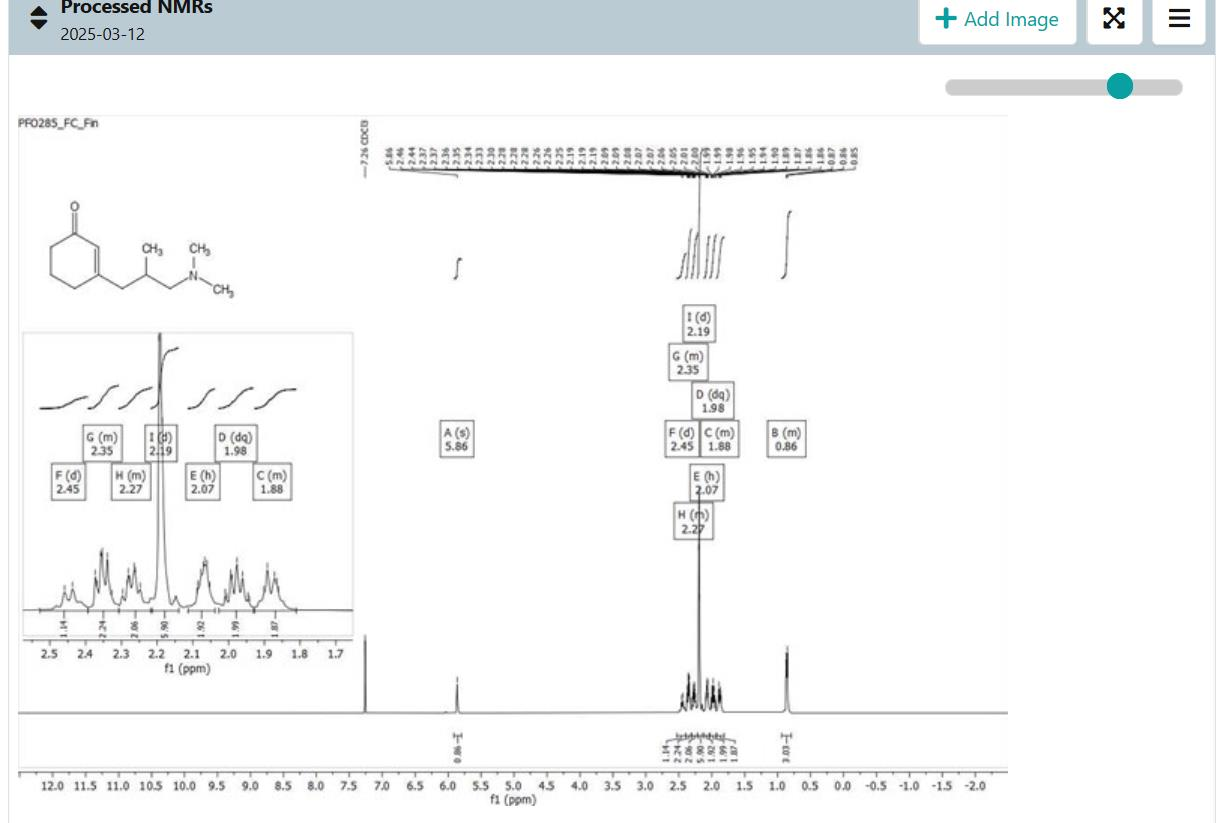
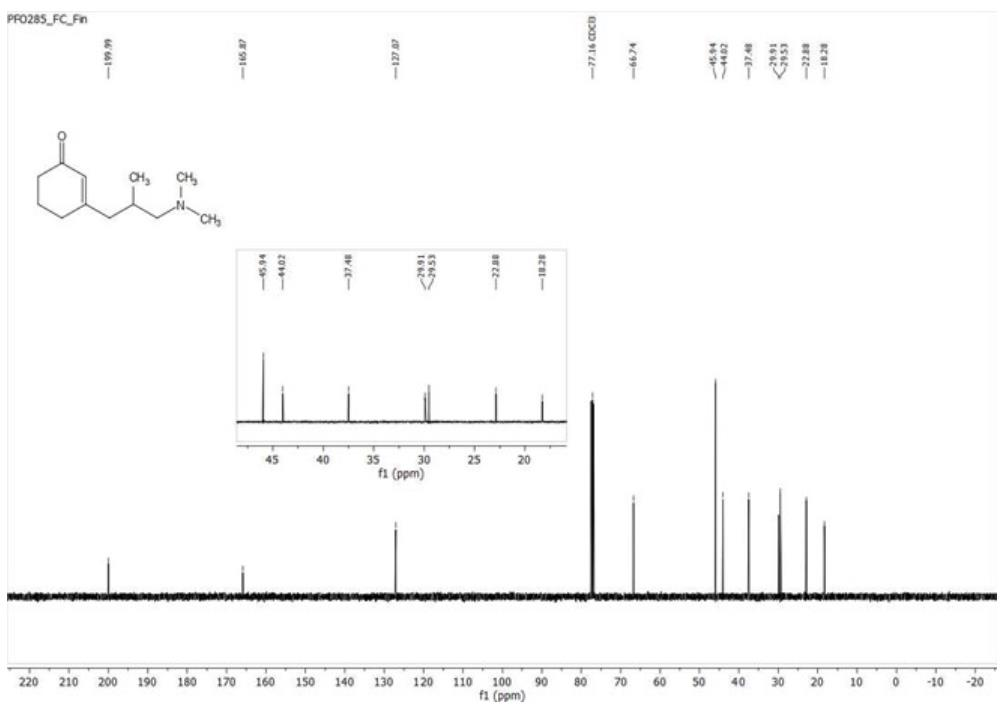
For outstanding entries, place the processed data (e.g. annotated NMR spectra) at the end of the experiment. This makes it far easier for anyone consulting the entry later to confirm structure and purity at a glance.
Group-standard settings files — import these once when setting up ChemDraw and MestreNova on a new machine.
